 By Alexis Grace
Replacing a roof is one of the most significant and transformative home improvement projects you will ever undertake. While a new roofing system protects your property, enhances curb appeal, and boosts structural value, the actual process can feel intimidating if you do not know what lies ahead. Understanding the step-by-step workflow helps demystify the project, allowing you to prepare your household, protect your property, and communicate effectively with your contractor. Knowing what to expect from the initial consultation to the final cleanup ensures a smooth, stress-free construction experience.
The Initial Consultation and Contract Agreement
Every successful roofing project begins long before workers arrive with ladders and shingles. The initial phase involves detailed assessments, material selections, and formal agreements that set the operational parameters for the entire job.
-
Roof Inspection and Measurements: A professional project manager conducts a comprehensive assessment of your existing roof structure, checking for hidden deck rot, ventilation issues, and structural sagging.
-
Material and Color Selection: You will choose your shingle type, underlayment grade, drip edge styles, and ridge cap designs, matching them to your home aesthetic and local climate needs.
-
Contract and Permitting: A reputable contractor provides a transparent, itemized written estimate covering labor, materials, waste disposal, and local building permits before any work commences.
Property Protection and Site Preparation
Roof replacement is an inherently messy construction process involving the removal of heavy, abrasive old materials. Prior to installation day, the contractor and homeowner must take specific steps to safeguard the surrounding property.
-
Protecting Landscaping and Vehicles: Contractors typically place plywood sheets over delicate flower beds and position heavy-duty tarps around the perimeter to catch falling debris. Homeowners should move vehicles out of the driveway and garage to ensure uninhibited crew access.
-
Securing Interior Items: Heavy vibrations from hammering can knock pictures off interior walls. Take down fragile wall hangings, mirrors, and delicate ceiling-mounted decorations before the crew starts work.
-
Managing Pets and Family: The loud, constant noise of nail guns and tear-off procedures can cause severe anxiety for pets and young children. Consider arranging alternative daytime lodging for pets during active installation phases.
Tear-Off of Old Materials and Deck Inspection
The true construction phase kicks off with the complete removal of your old roofing layers. Skipping this step and installing new shingles over old layers is a shortcut that compromises structural integrity and voids manufacturer warranties.
-
Stripping Down to the Deck: Workers systematically strip away old shingles, felt paper, and flashing down to the bare wooden roof deck.
-
Debris Containment: Torn-off materials drop directly into large dumpsters or specialized mobile trailers positioned strategically below the eaves.
-
Evaluating Structural Wood: Once the deck is exposed, the contractor inspects the plywood sheathing for water damage, rot, or warping, replacing any compromised boards before moving forward.
Installing Weatherproofing Layers and New Shingles
With a clean, structurally sound wooden deck established, the installation crew begins building the multi-layered roofing system from the bottom up to guarantee total weather resistance.
-
Underlayment and Water Shields: Workers apply high-performance synthetic underlayment and self-adhering ice-and-water shields across vulnerable areas like eaves, valleys, and roof penetrations.
-
Starter Strips and Drip Edges: Metal drip edges are installed along the rakes and eaves to direct water away from the fascia, followed by specialized starter strip shingles that lock down the first row.
-
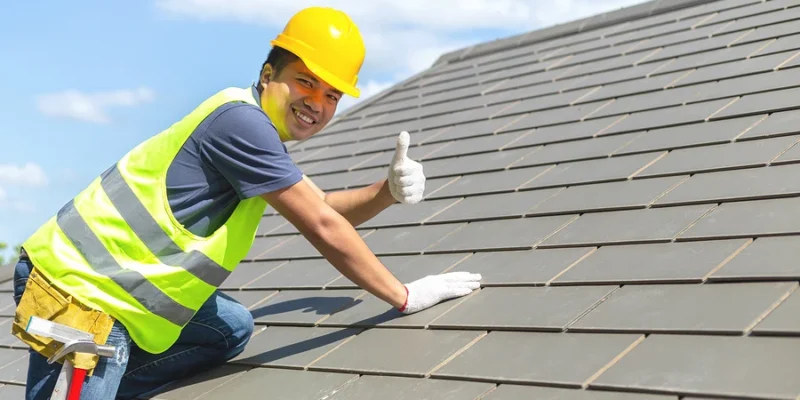
Shingle Course Application: Installers lay down asphalt shingles from the bottom edge upward, using precision nailing patterns and overlapping courses to ensure maximum wind and rain resistance.
Final Cleanup and Magnet Sweeps
A professional roofing job is never truly finished until the worksite is meticulously cleaned and restored to its original condition. Neglecting cleanup leaves dangerous hazards behind for families and pets.
-
Comprehensive Debris Removal: Crews blow off loose shingle granules and clear out residual scraps of plastic, felt paper, and packaging from your gutters and walkways.
-
Magnetic Nail Sweeps: Installers sweep rolling magnets across your lawn, driveway, and pathways multiple times to capture stray roofing nails and sharp metal debris.
-
Final Walkthrough: The project manager conducts a detailed inspection with you to review the completed roof, verify workmanship quality, and hand over your final warranty documentation.
Frequently Asked Questions
How long does a typical residential roof installation take?
Most standard residential roof installations are completed within a single day. However, larger homes, complex architectural roof designs, steep pitches, or extensive structural wood repairs can extend the project timeline to two or three days.
Do I need to be home during the roof installation process?
You do not strictly need to remain inside your house during the installation, but it is recommended that at least one adult stay home or remain easily reachable by phone to discuss any unforeseen structural issues discovered after the old roof is stripped.
How do roofing contractors handle unexpected rain during the project?
Professional contractors carefully monitor local weather forecasts before scheduling a tear-off. If unexpected rain threatens an open roof deck, crews quickly deploy heavy-duty waterproof tarps and secure them tightly to prevent interior water damage.
Will my driveway sustain damage from the heavy dumpsters?
Roll-off dumpsters and heavy supply trucks can place significant weight on asphalt driveways, particularly on hot summer days. Reputable contractors usually place protective wooden planks beneath dumpster wheels and outrigger pads to distribute weight and prevent surface cracking.
What should I do with my solar panels or satellite dishes during a roof replacement?
Solar panels, satellite dishes, and specialized antennas must be uninstalled prior to the roofing process. Many roofing companies coordinate certified third-party technicians to safely detach and reinstall these systems once the new roof installation is complete.
How soon after installation can I expect my new roof to settle?
Asphalt shingles require warmth from the sun to activate the heat-sealed adhesive strips that bond each shingle course together. This thermal sealing process typically takes anywhere from a few days to a couple of weeks depending on outdoor temperatures and direct sunlight exposure.